My homelab: from Proxmox to Kubernetes, fully automated
Why this project?
Like many folks in the field, I had an old PC gathering dust — an Acer XC-605 — and the idea of turning it into a home server had been on my mind for a while. Proxmox VE was the obvious choice: open-source, powerful, and perfect for running VMs and containers without breaking the bank.
But installing Proxmox by hand, creating users, configuring storage, building VM templates… it’s the kind of work you do once and forget about. Until the day you need to redo everything (disk failure, migration, new hardware), and suddenly you’re digging through old notes and losing a weekend.
So I decided to code the whole thing. And pretty quickly, the scope grew beyond just Proxmox configuration: I needed a Docker host for containerized services, and a Kubernetes cluster to learn and experiment with. The result is the TiPunchLabs/homelab project: an Infrastructure as Code monorepo that takes a freshly installed Proxmox and deploys an entire infrastructure on top of it, idempotently and reproducibly.
The monorepo architecture
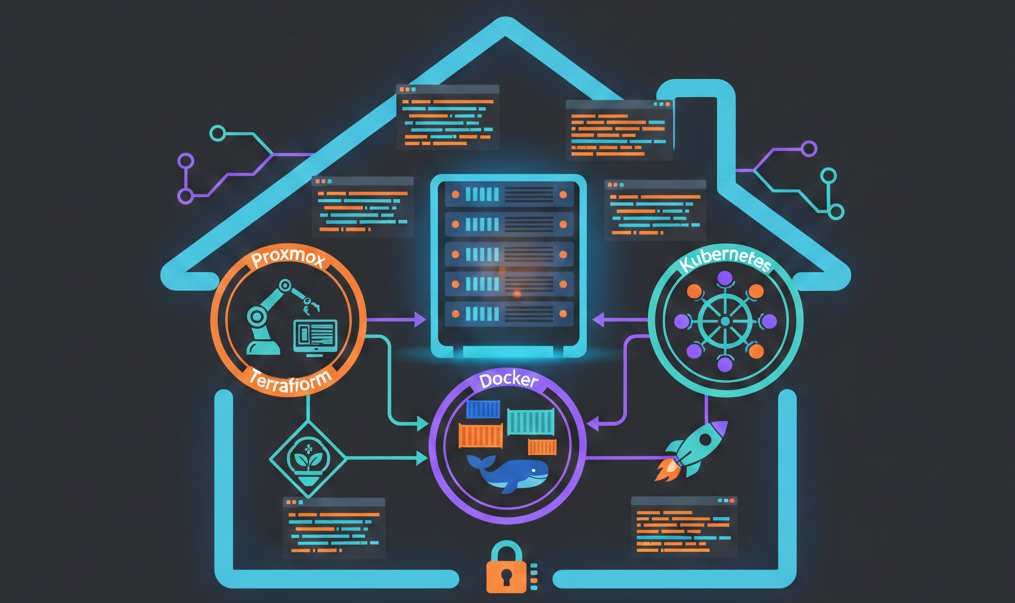
The project is split into three independent sub-projects, each following the same pattern: Terraform provisions the VMs on Proxmox, then Ansible configures them.
homelab/
├── proxmox/          # Hypervisor configuration
│   ├── ansible/      #   SSH hardening, API tokens, storage, VM templates
│   └── terraform/
├── dockhost/         # Docker host VM
│   ├── ansible/      #   Docker Engine, Portainer Agent, security
│   └── terraform/    #   1 VM: 3 cores, 10 GB RAM, 100 GB disk
├── kubecluster/      # Kubernetes cluster
│   ├── ansible/      #   10 ordered roles: from runc to kubeadm
│   └── terraform/    #   1 control plane + 2 workers
├── modules/          # Shared Terraform module (VM cloning)
├── github-terraform/ # The GitHub repo managed as code
└── scripts/          # Shared scripts (vault, pre-commit)
This layout lets me work on each component independently while sharing the foundations (VM module, secrets management, CI).
The foundation: configuring Proxmox
The proxmox/ sub-project is where everything starts. Its Ansible playbook with a configure role runs four stages, each independently executable via tags:
SSH hardening
First thing after a fresh install: lock down access. The playbook creates a dedicated ansible user with sudo privileges, deploys my SSH public key, then disables password authentication.
ansible-playbook -u root playbook.yml --tags "security_ssh_hardening"API roles, users, and tokens
Proxmox has its own access management system (pveum), and manually creating API tokens with the right privileges is pretty tedious. The playbook deploys a script that reads a JSON file describing the tokens to create, then uses pveum to provision everything idempotently:
- A Terraform token (
terraform-prov@pve!terraform) with 20 privileges — everything needed to create VMs, manage storage and networking. - An Ansible token (
ansible-prov@pve!ansible) with just 2 privileges (VM.PowerMgmt,VM.Audit) — the bare minimum to manage existing VMs.
ansible-playbook playbook.yml --tags "setup_roles_users_tokens"Storage
My Acer has an SSD for the system and an extra HDD for backups and ISOs. The playbook partitions, formats, and mounts the disk, then registers it in Proxmox as a dir storage type. Everything is idempotent, and a configure_storage_force_format: false flag prevents any accidental formatting.
ansible-playbook playbook.yml --tags "setup_storage"Cloud-Init VM templates
This is the meatiest part. The playbook downloads an Ubuntu cloud image (24.04 Noble), customizes it with virt-customize (installing qemu-guest-agent, creating the ansible user, setting the root password via Ansible Vault), then turns it into a Proxmox template ready to clone.
ansible-playbook playbook.yml --tags "generate_vm_template"This template (ID 9001) is the base that both other sub-projects use for all their VMs.
The Docker host
Once Proxmox is configured and the template is ready, the dockhost/ sub-project takes over. Terraform clones the template to create a dedicated VM (3 cores, 10 GB RAM, 100 GB disk), then Ansible configures it with three roles:
- motd: a custom ASCII art welcome message — the small homelab pleasure.
- docker: Docker Engine and Docker Compose plugin installation.
- portainer_agent: Portainer Agent deployment via a docker-compose template, for managing containers through a web UI.
# Provision the VM
cd dockhost/terraform && terraform apply

# Configure the VM
cd ../ansible && ansible-playbook deploy.yml
A security_hardening role (SSH + UFW) is already written but not yet wired into the main playbook — that’s on the roadmap.
The Kubernetes cluster
The most ambitious sub-project: kubecluster/ deploys a full Kubernetes cluster from scratch. Terraform creates three VMs (1 control plane at 2 cores / 4 GB, 2 workers at 1 core / 3.5 GB each), then Ansible chains 10 roles in order:
- cfg_nodes: system prerequisites (packages, kernel parameters)
- inst_runc: low-level runtime installation
- inst_cni: CNI network plugins
- cfg_containerd: containerd configuration
- inst_cri_tools: CRI tools (crictl)
- cfg_kubeadm_kubelet_kubectl: kubeadm, kubelet and kubectl installation (v1.34.0)
- init_kubeadm: control plane initialization (master node only)
- kubectl_cheat_sheet: kubectl aliases and bash completion (control plane only)
- join_workers: worker nodes joining the cluster
# Provision the 3 VMs
cd kubecluster/terraform && terraform apply

# Deploy the cluster
cd ../ansible && ansible-playbook deploy.yml
Within minutes, you go from zero to a working Kubernetes cluster, ready for workloads.
Shared infrastructure
Two cross-cutting pieces worth mentioning:
The Terraform module modules/proxmox_vm_template/ is reused by both dockhost and kubecluster. It encapsulates Cloud-Init template cloning with CPU, RAM, disk, and network parameters. Writing this module once and consuming it everywhere is exactly the kind of factorization that makes IaC maintainable.
The github-terraform/ directory manages the GitHub repository itself as code: repository creation, branch protection on main requiring all 4 CI jobs to pass before any merge. GitHub-as-Code, essentially.
Secrets management
This is something I spent real time on: making sure no secret ever appears in plaintext in the repository. The strategy relies on three layers:
- Ansible Vault for sensitive variables (VM passwords, API tokens). Vault files are AES256-encrypted.
- pass (the Unix password manager) to store Vault passwords and Terraform tokens. A
ansible-vault-pass.shscript bridges the gap. - direnv which automatically loads environment variables (
TF_VAR_*, Vault password) when I enter the project directory.
The result: I type terraform apply or ansible-playbook deploy.yml and everything unlocks in cascade, without ever prompting me for a password.
Tooling and code quality
The project ships with quite a few guardrails to keep the code clean:
- pre-commit with shared hooks:
shfmt,shellcheck,ansible-lint, a custom check to verify Vault files are properly encrypted,terraform fmt,terraform validate, andtflint. - GitHub Actions CI with 4 dedicated jobs: Ansible Lint, Terraform Lint, Shell Lint, and Security Check — all triggered on every push and PR.
- Dependabot for automatic dependency updates (GitHub Actions, Terraform providers, Python packages).
- uv as the Python package manager — much faster than pip and nicely integrated with direnv.
Installing Proxmox
For those curious, installing Proxmox VE 9 on the Acer XC-605 requires a small tweak: at the boot menu, you need to edit the boot line (press e) and append nomodeset to the linux line, then press F10 to continue. Pretty standard for slightly older hardware.
What’s next?
The project lays a solid foundation, but there’s still plenty to build:
- Services on the Docker host: Traefik reverse proxy, self-hosted GitHub Actions runner
- Kubernetes workloads: deploying real services on the cluster
- Automatic token rotation with notifications
- Proper secrets manager integration (HashiCorp Vault, Bitwarden CLI, or age/sops)
- Replacing Bash scripts with native Ansible modules for
pveumoperations
The project is open-source under the MIT license. If this kind of thing interests you, feel free to check out the TiPunchLabs/homelab repository — contributions and feedback are welcome.